WordPress Blocks: Ultimate User Guide for 2026
The introduction of WordPress Blocks has revolutionized content management systems and our overall web experiences. However many people might find it difficult to use this new block-based editor at WordPress.
Don’t worry. We are here to help you if you are one of them. In this article, we will let you know everything about WordPress Block Editor. It includes – what are WordPress Blocks, how the blocks work, how to use the blocks, and how can you disable the blocks if you don’t like them.
Note: Explore first 100% Gutenberg block native poll plugin- Pollify
What Are WordPress Blocks?
Blocks are the components of WordPress Editor, the place where you craft your content. By using blocks, you can write, design, or organize your content on the WordPress Editor.
WordPress Editor is now called “WordPress Block Editor” as it introduced the new block-based editor in the recent update. And, the previous editor is called “Classic Editor”.
How Do WordPress Blocks Work?
The blocks on WordPress work as different segments or parts of your content. Each time you add a block to your content means you are creating a distinct part of it. You can design that part individually the way you want. You can even combine multiple parts or segments of your content into one using the block.
Sounds interesting, doesn’t it? WordPress has brought some excellent and useful content management features with its new block-based editor also known as Gutenberg.
The Changes Brought by Gutenberg
WordPress released its new version WordPress 5.0 also called “Gutenberg” in December 2018. It has been named after the father of the printing press Johannes Gutenberg. With this new release, WordPress introduced its new editor called “WordPress Block Editor” or simply “Block Editor” which we have been talking about.
Gutenberg has brought some groundbreaking changes to WordPress. By introducing the Block Editor, Gutenberg has mordernized the entire content management system on WordPress and made it more user-friendly.
To find out more, please visit the following link: WordPress 5.0 – Gutenberg.
Brief Introduction to Key WordPress Blocks
More than 75 default blocks are now available on WordPress so far. And new blocks are getting included often. So, it’s difficult to describe all of them here right now.
We are going to provide a brief introduction to some of the major blocks that you will have to use very often. WordPress separated the blocks into 5 categories – Text, Media, Design, Widgets, and Embeds.
1. Text Blocks
Paragraph: This is the most common block where you usually write. It allows you to type your texts and format them almost like any word processing software.
Heading: It’s another common and crucial block. As the name suggests, you can set your heading and sub-heading using this block. You can also do basic formatting and set the heading size from H1 to H6.
List: It is simple. List Block lets you create lists (bulleted or numbered) within your content. The level of customization is comparatively low here. But we hope it will be fixed soon.
Quote: If you want to add any quote to your content, this is the block to choose. Quote Block helps you give visual emphasis on the quoted texts and citations.
Pullquote: If you want to give extra visual emphasis on your quote and citation, then you shall use Pullquote Block.
Table: Do you want to display your data via a table? Then, you should use Table Block. It will give you basic cell management options (insert or delete row/column) like that of Office or Docs.
Classic: If you (really) don’t like the current block-based WordPress Editor, you may still go back to the old editor using this block. The Classic Block will bring back all the functionalities of the Classic WordPress Editor.
2. Media Blocks
Image: It lets you insert an image within your content. Don’t get confused with Feature Images. You can set the feature image of your content from the “Post” tab under the “Setting” menu.
Gallery: If you want to add multiple images to your content and arrange them automatically, you will have to use Gallery Block. It will let you control the number of columns and the size of the images.
Cover: It is an effective block to create a header or cover. Using the Cover Block, you can add any image or video with a text overlay. It will give a particular part of your content a visual emphasis.
Video: This block is used to upload and embed a video on your page or post. You can directly upload a video or insert one from a URL using the Video Block.
Audio: It allows you to embed any type of sound files – music, podcast, or recording – to your page. The Audio Block works as a simple audio player.
Media and Text: If you want to add an image or video along with text side by side, then Media and Text Block you should use.
File: The File Block lets you create a downloadable link to your document files, like Docx, Pdf, or Xlsx.
3. Design Blocks
Buttons: This block lets you add one or multiple interactive buttons to your content. You can attach the links of your desired sites or pages to these buttons to redirect your visitors.
Columns: If you want to insert your text and media in different columns, you need to use the Columns Block. You can create up to 3 columns using this block at any part of your content.
Group: It allows you to group different blocks into one. You can apply different customization and settings to all of them at the same time.
Separator: You can separate two blocks of your content using the Separator Block. It works as a line between two blocks.
Spacer: If the separator isn’t enough and you need to keep more empty space between two blocks, then you should use the Spacer Block.
4. Widgets Blocks
Search: By using this block, you can add a search widget to your page or content. Your users will be able to search for what they need within your domain by using the Search Block.
Social Icons: This block lets you add various social media icons, like Facebook, Twitter, or LinkedIn, to your content. You can add the links of your social media pages to those icons to increase visibility.
Categories: You can organize your previously published articles by category with this block.
Calendar: It lets you add a calendar widget to your content where you can show the links of your posts by date. It doesn’t let you create a calendar of events or anything similar. You would need a separate plugin for that.
Latest Posts: You can display your most recent content by using the Latest Posts Block. It will help your readers find your new posts easily.
Shortcode: As the name suggests, you can use shortcodes with this block. Shortcodes are WordPress-specific code that lets you do complex tasks with very little effort.
5. Embeds Blocks
Under the Embeds category, you will find a bunch of blocks that will let to embed various content, widgets, or contents of other platforms. You can embed any URL by clicking the Embed Block or the particular platform you prefer.
Getting Started with WordPress Blocks
It might feel somewhat difficult when you first start using the Block Editor. But once you learn the basics, it will feel so easy and useful that you won’t want to switch back. We are going to share some basic user guides on how you can get started with the WordPress Blocks in the following paragraphs:
How to Add or Open a New Block on WordPress
To open the WordPress Block Editor, simply WordPress Editor, or Block Editor:
- Go to “Post” menu on your dashboard
- Click the “Add New” button from there
To add a new block to your post or content:
- Click the add block “+” icon from the right side
- Or, Click the add block “+” icon from the top-left corner of your page
You can add any block to your content anytime by following these steps. You may also find this add block “+” icon between the two blocks of your content.
How to Write on WordPress Blocks
It is very simple. You will be able to write on WordPress Editor by using the “Text Blocks” like – Paragraph, Heading, List, or Quote.
You would generally put your headlines or subheadlines on Heading Block, type your texts on the Paragraph Block, and others as the names suggest.
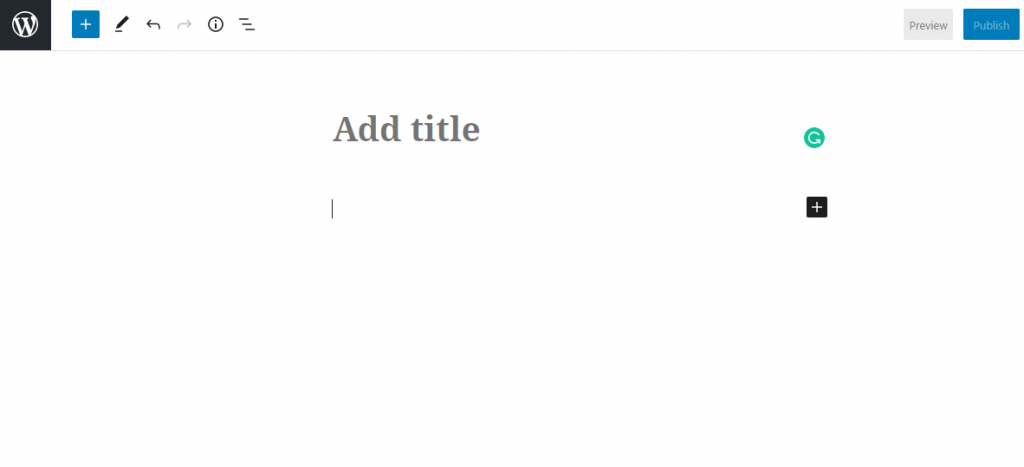
After clicking the “Add New” button from the “Post” menu, you will open the Editor with a Paragraph Block by default. You can start writing here. Or, write somewhere else just by adding any of the text blocks anywhere you want.
How to Transform Existing Blocks on WordPress
You can transform some of your blocks into others of the same group or category. For instance: you can transform your Paragraph Block into a Heading, List, Quote, or any block in the Text category.
You will find Group and Columns Block present during almost all types of transformation. Please follow the steps below to transform your existing blocks:
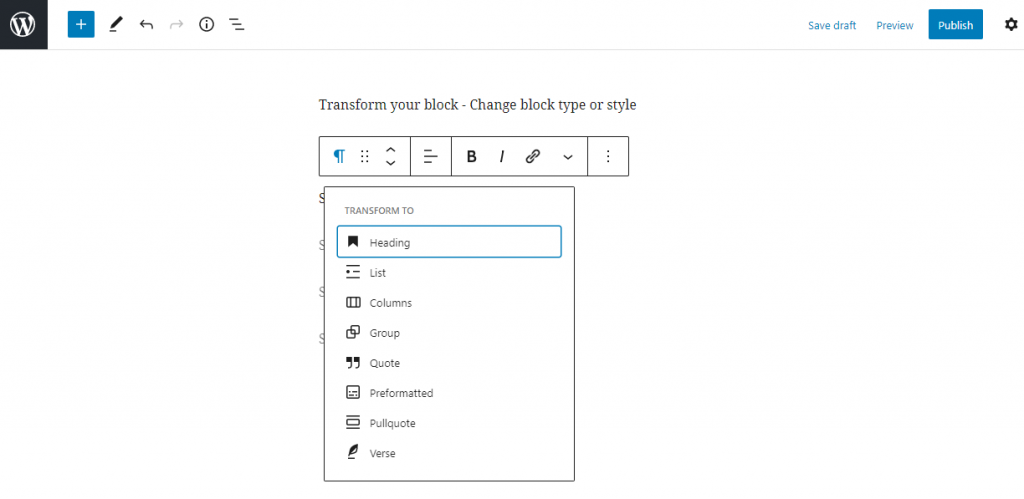
- Select any of your blocks (a floating customization panel will open)
- Click the most left button of the panel (a set of blocks will appear)
- Select the block you want to transform into from the panel
How to Set Heading or Subheadings on WordPress
The title of your post will automatically be selected as the headline of your content. The rest of the headings will be considered as subheadlines.
You can add a subheadline anytime anywhere of your content by simply adding the Heading Block. Or, you can transform any of your Text Blocks into a Heading Block by following the steps we mentioned earlier.
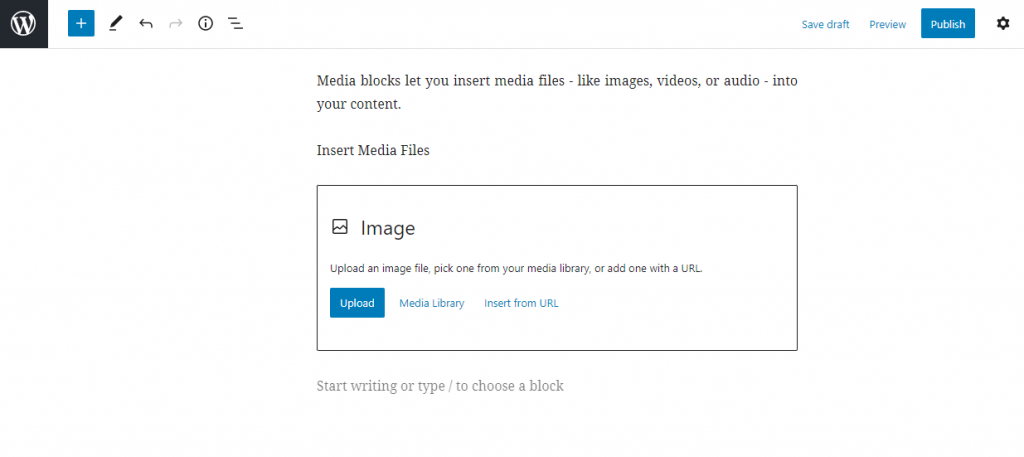
How to Insert Media Files with Bloks on WordPress
- Click the add block “+” icon
- Select your desired block from the “Media” category – e.g. Image, Video or File
- Click the “Upload” or “Media Library” button to insert the file
- Or, Click the URL button to insert your media file via URL
How to Make Groups Using WordPress Blocks
To create a new group, just add a Group Block and give your input there.
To make a group from the existing blocks, select the blocks you want to merge into a group. Then, transform them into a group by following the steps of transformation we cited earlier.
How to Create Multiple Columns on WordPress
The process of creating multiple columns is almost the same as making groups. With the Columns Block, you can create up to 3 columns.
- Add a Columns Block to create new columns, and give your input there
- Or, select one or multiple blocks and transform them into Columns Block
How to Add Buttons & Social Icons with WordPress Blocks
You will have to follow almost the same steps to add buttons and social icons to your content. So, we are covering them together. Please follow the steps below:
- Add Buttons or Social Icons Block by clicking the add block “+” icon
- Type button names. For social icons, select your preferred social platforms
- Link your desired pages to the buttons, or your relevant social media pages
Use of Third-Party Blocks on WordPress
If the default WordPress blocks aren’t enough you are always free to add third-party blocks. You might get better functionalities and customization options by using different third-party blocks.
There are two ways to get third-party blocks. One, you can get a new set of blocks by installing block plugins. Two, get some additional blocks by installing general plugins – like you will get Map, GIF, and Contact Info Blocks by installing Jetpack, a popular backup and security plugin.
We are going to discuss some useful third-party blocks under 4 categories- the best WordPress blocks for a blog, the best for e-commerce, the best for a media library, and the best overall.
Best WordPress Blocks for Blogging
If you own a blogging site and want to add some customization options to your content you may consider using the following block plugins:
Best WordPress Blocks for E-commerce
To run an e-commerce site, you will need different types of blocks and widgets. You may find the blocks and plugins below useful:
WooCommerce, and Jetpack.
Best WordPress Blocks for Media Library
Adding and organizing media files to your content sometimes might feel difficult. You can overcome it by using these blocks:
Simply, CoBlocks, and Envira Gallery.
Best WordPress Blocks in General
If you want to get blocks for various purposes, the following ones might serve you well. They are some popular multi-purpose blocks-
How to Disable Blocks on WordPress
Not all people would find all the blocks useful. Some would not even like the entire block-based editor itself. Don’t worry. We have solutions for you.
There are two solutions – one, using the Classic Editor Block; another, using third-party plugins.
Using the Classic Editor Block
If you want to get the taste of the Classic Editor without disabling the Block Editor, you can always use the block called “Classic” anywhere in your content.
Using Third-Party Plugins
To disable each WordPress Block individually, entirely, or disable it for a particular page or user, you will have to use third-party plugins. Then, follow their instructions. You might try the following plugins:
Disable Gutenberg Blocks, Disable Gutenberg, and Block Visibility.
FAQs Answered on WordPress Blocks
How to select multiple blocks in WordPress
How to use group block in WordPress
WordPress multiple content blocks
How to add blocks in WordPress
-Locate and select the Add block icon.
-From the accordion list of blocks, choose the one you want to use.
-Each block has its own settings you can change, which are in the right menu bar.
-You can preview the changes you made by clicking the Preview button.
-Once you have finished adding the blocks you need, select Publish.
Summary of WordPress Blocks
You can use the WordPress editor to create media-rich pages and posts and to control the layout with ease. Instead of worrying about the alignment and organization of texts, quotes, and images, now every element on a post or page has its own block – and you can focus on creating.
Regardless of whether you’ve been looking forward to WordPress 5.0, the wait is finally over. Your only decision is to decide how you want to move forward on your site. While we definitely recommend updating as soon as possible, whether or not you use the new block editor is up to you.