A Complete Guide to WordPress Menus in 2024
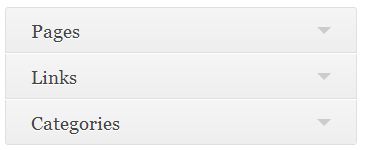
There are three types of menus available in WordPress- Pages, Links, and Categories.
In this article, we will talk about each type of menu one by one.
How to Create a New Menu in WordPress
To create a new menu, go to Appearance → Menus in your dashboard. and then click on the Create a new menu link.
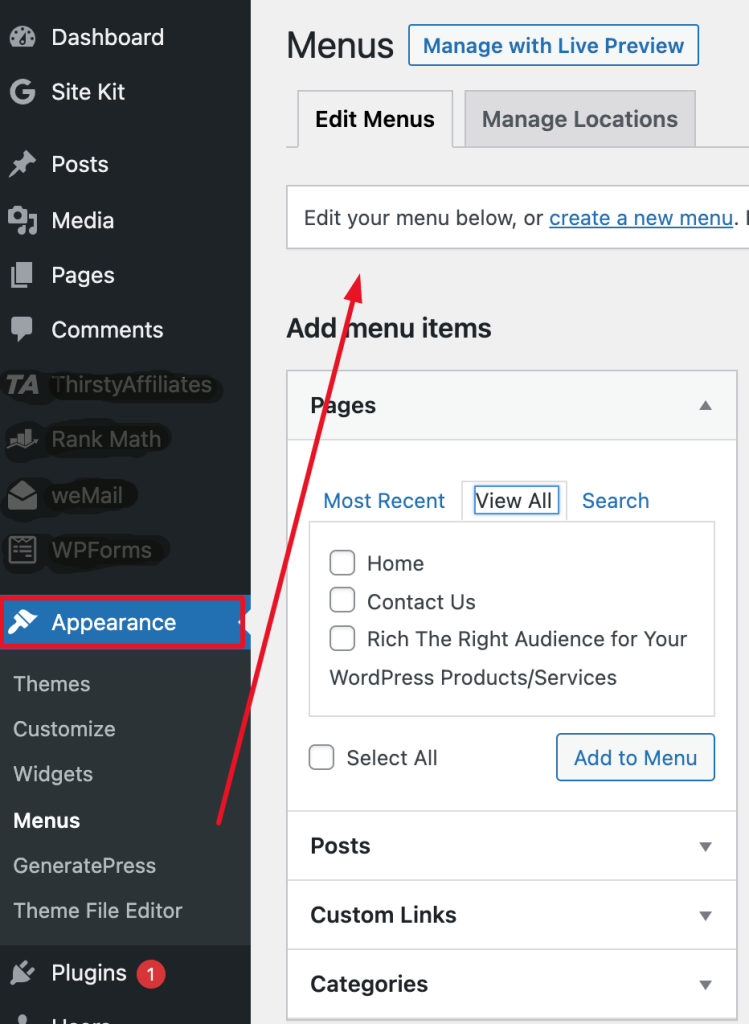
It will open a new window where you can give the desired Menu Name to your menu and then click the Create Menu button.
How to Add Pages to WordPress Menu
For adding your pages to the menu option, just check the boxes in front of the pages you want to add to the menu. Then click on Add to Menu button and you’re done.
But if you have a huge number of pages, then you can choose to view your Most Recent pages or Search for a page by its name in the search tab option.
How to Add Links to Menu
You can create a menu of different links without adding a separate page. Just type your URL and Link Text in the boxes and then click on Add to Menu.
If you want to give a link to other websites in your menu you can give the URL to that website.
How to Add Categories to Menu
You can show your desired category and posts with the help of a Categories Menu.
If you have lots of categories then Most Used and Search tab options can help you to choose your desired category.
But only those categories will show in the list, which has at least one published post in them. You can’t show a category with no published post.
To make Categories Menu, just check the box of the categories you’d like to add, and then click on Add to Menu. Thant’s it.
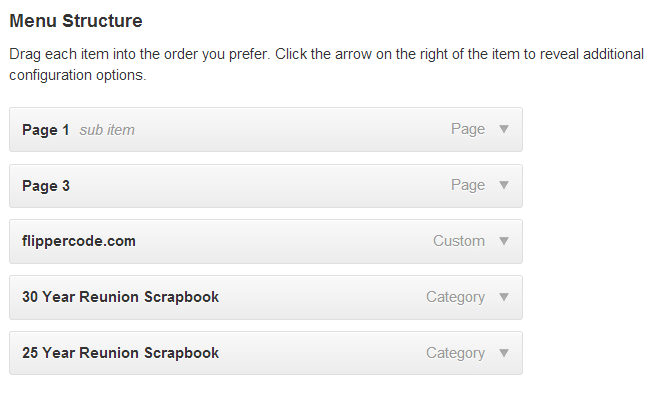
However, you can create a mixed item menu by selecting the menu item from Page, link, and category together. Check the screenshot given below:
How to change Menu Order and Create Sub-Menus?
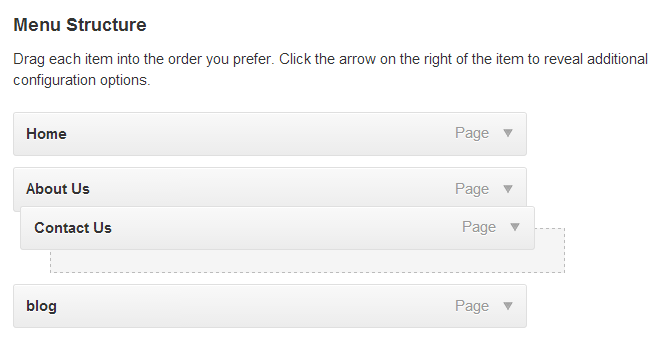
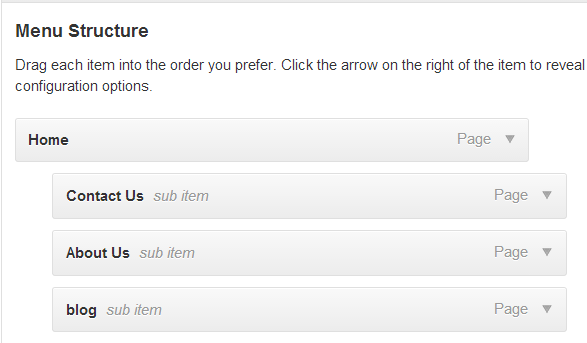
Change Order: WordPress comes with great menu flexibility. You can change menu order just by dragging and dropping your menu items. Check the image below.
Sub Menu: Similarly to create sub-menus or “drop-down” style menus; drag menu items to the right to its parent menu item tab. You can undo this by dragging them to the left.
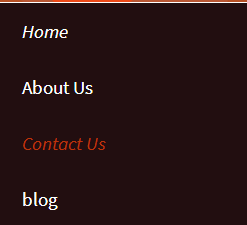
If you want to make a drop-down menu like the image given below.
These are the necessary settings for making a “drop-down” menu:
Learn what to do after installing WordPress to get SEO boosting and your desired growth in a short period of time.
Menu Item Settings in WordPress
You can also change the settings of each menu item according to your choice by clicking on the down arrow to the right of your menu item.
On clicking the down arrow, you can see a new window where you can see the following options-
Navigation Label: With the help of the navigation label you can change the name of your menu item.
By using this, you can override the default name of the menu item.
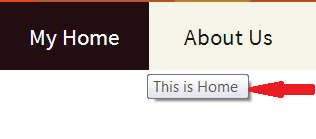
Suppose you have a page named ‘Home’. By default, you can see the same name on the menu field. But if you want to change the name of a menu item without changing the name of your page, you can give it a different name with the help of a navigation label.
In the image given below, we have changed the name of Navigation Label from ‘Home’ to ‘My Home’, and you can see the desired change in your website menu just like this.
Title Attributes: This adds hover text to the menu item. With the help of Title Attributes, you can tell about your menu item to help your website visitors.
Remove: This button deletes your menu item from the menu list, permanently.
Cancel: You can cancel the changes you have made to it by clicking on the cancel button.
Please don’t forget to click on the Save Menu button after making any changes to menu settings. However, you can delete your menu anytime. by clicking on the Delete Menu button.
Final Words on WordPress Menu
This is how the WordPress menu option works and helps to make your users’ journey easier.
Did we miss something? Do let us know in the comment section.
Happy blogging with WordPress!
Want to learn everything about WordPress? Check this A-Z guide on WordPress glossaries.


